 Login
Login Email Us
 Call Us
Cooking for Two
POSTED January 25th, 2019
Cooking for two can be a challenge, but Sally Vaughan-Johnston (contributor to The Best of Bridge series) has ideas and recipes that take your weeknight meals from sad to satisfying.
Read the article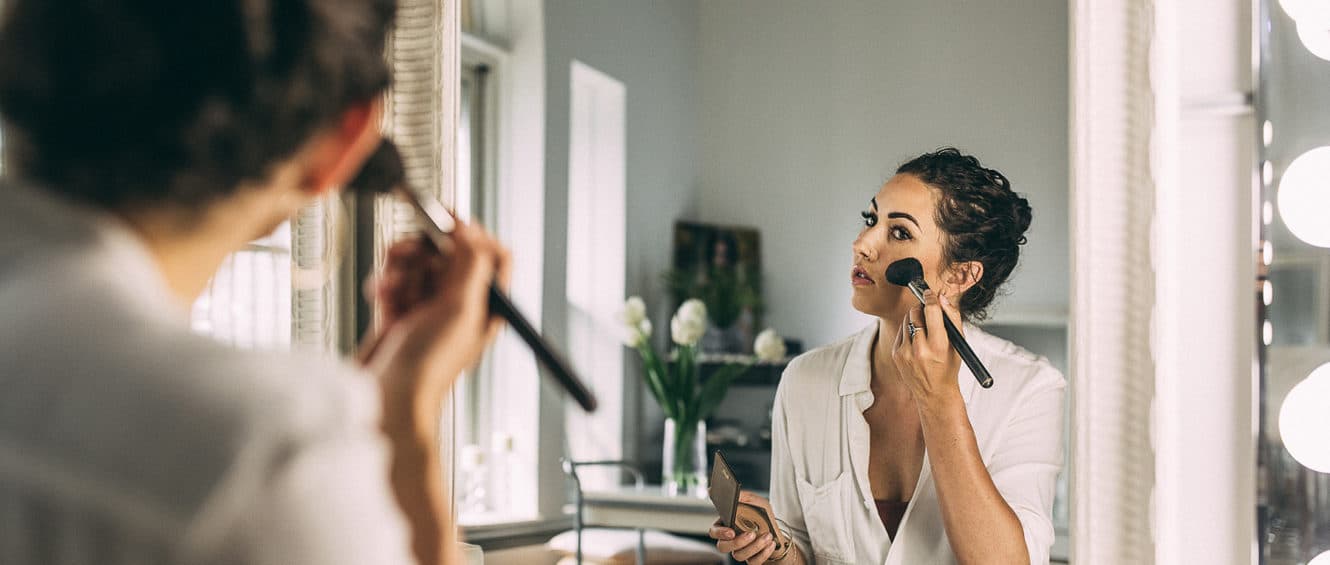

Written by Elizabeth Segura,
Owner, Blushed Beaute
There are so many beautiful looks you’ve seen on youtube and Instagram and you have all the products they recommend. The only problem is you never seem to get it “right”. Maybe you don’t feel like it suits you, maybe you feel like you look bruised. More importantly, you don’t really understand how when you do your makeup it looks amazing in person, but meh in photos?!?
That’s ok, I’m an expert and I hear this all the time. Sometimes that means a client will book me! I’m happy to doll them up for a special occasion. But let’s be honest, it’d be nice to be able to do it yourself. You have the product, so why doesn’t it work like it does on Instagram? The real answer: you’re not using enough.
Also, everyone is unique! A look is almost impossible to replicate exactly person-to-person.
Most people understand that you would need MORE makeup for theatre or dance but don’t realize that the camera works the same way.
You have perfect skin? So why do you need full coverage foundation? Well you don’t… but it photographs evenly and allows the rest of your makeup to sit evenly on top of it. So do you need it? Maybe not… but each step has a purpose. So here’s my professional recommendation:
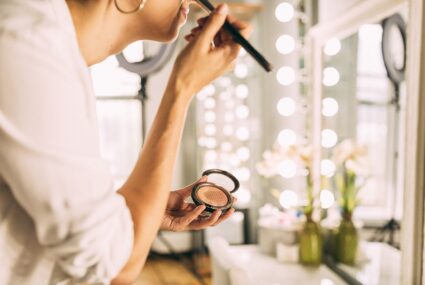
Before doing your makeup, you have to take care of your skin. Wash with hot water and use a towel to gently exfoliate. Then moisturizing is the most important part. Do you have oily skin? Doesn’t matter. Use a gel cream instead of something heavy… but you still need to hydrate. Your skin should feel like butter when you’re done. No texture. If it doesn’t, then I recommend a primer to give you that boost you’ll need to make the foundation look smooth (I love the moisturizing balm by Bioderma. Instant results. Really affordable).
It takes time to find the best one so go to Sephora and ask for a bunch of samples. It’s not one-size-fit-all. I love YSL Touché Eclat or IT Cosmetics. Both are full coverage and have a natural sheen for bright, healthy skin.
I know your foundation is full coverage, but I use concealer to brighten the skin and cover things like redness around the nose, dark circles, acne etc. I LOVE Lise Watier’s colour wheel because I use the coral concealer to brighten the under eye when my circles are really dark and the other colours are mixed throughout the year to match my skin tone as I tan and lighten.
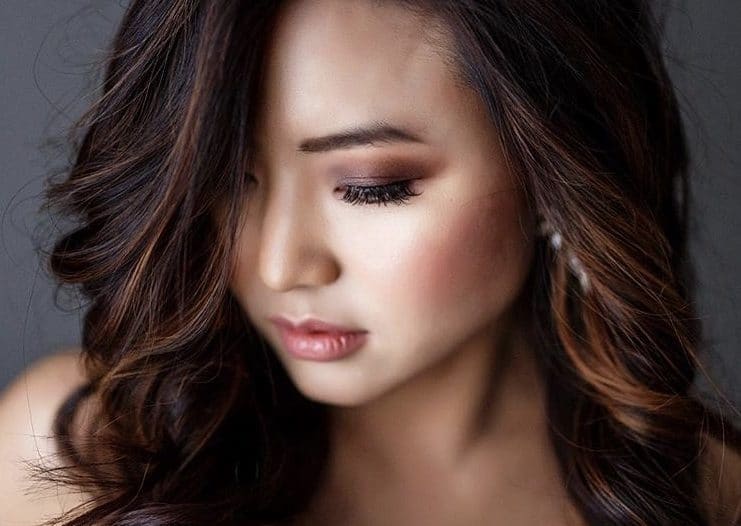
Don’t be afraid to use a bright pink. Just don’t apply it too heavy. I always keep a bronze blush and a pink blush on hand to switch looks. Pink looks fresh and pretty, bronze can look sultrier. I love MAC’s shade ranges. Ask for help colour matching but make sure to go in with full foundation so you can really see how it will look. I use different blushes based on the makeup I’m going to wear. Most of the time I wear a bright YSL pink, but for a night out, I use Margin from Mac as it’s got a beautiful sheen to it and looks bronzy.
Honestly, no look is finished without the lip. I love a creamy, full colour lipstick. They photograph the best, look natural and beautiful in person, and are easy to wear. MAC has a line called “creamsheen” that are creamy, taste like vanilla, and wear beautifully. Try a couple! My go-to favourites are Modesty, Crème’d’ Nude, Koi Koral (in summer), and Crème Cup.
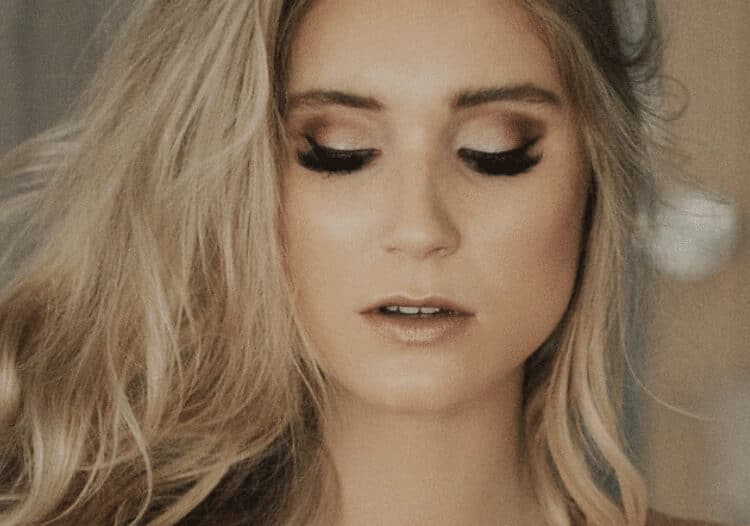
Yes, the darker you go on your eyes, the darker your lashes should be! So I will smudge a dark shadow around my eyes (preferably one with a bit of shimmer to add a bit of sultriness to the look) then I use L’oreal Voluminous Lash Paradise (pale purple packaging) and BUILD those lashes! It’s amazing. I use about three to five coats to really build the lash. Allow about 30 seconds to dry before adding another coat. Aside from Marc Jacobs Velvet Noir, it’s the best mascara I’ve ever used.
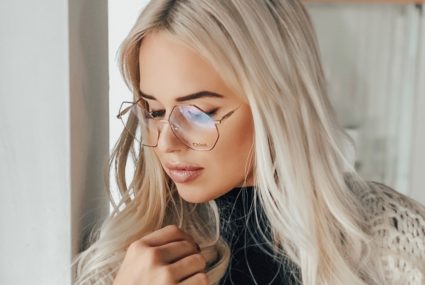
Those are the key pieces to a beautiful, finished look! You don’t have to go really heavy on the eyes or be a pro. I usually recommend doing skin first because then you’ll feel prettier when you get started on your eyes and feel more confident as a result. Eyes are the scariest. I didn’t mention brows as there are so many different techniques and styles! Stick with what you know for now, once you have these other key skills in place, you can tackle a trickier style with your eyes or try changing up your brows! But… you might not need to 😉
Also, practice! Make sure to try this before a big night out, you want to make sure you can enjoy the process of getting ready and not feel stressed or rushed!
Love the advice but want to learn more? Check out the makeup classes offered at Metro Continuing Education! We’re offering regular classes and you’ll see different options each month!
Find me on insta if you have questions @blushedbeaute
Have a fun night out!
Xoxo
Elizabeth
Check out our Health & Wellness classes to learn from Elizabeth and other great Metro instructors.
Explore Health & Wellness ClassesCooking for two can be a challenge, but Sally Vaughan-Johnston (contributor to The Best of Bridge series) has ideas and recipes that take your weeknight meals from sad to satisfying.
Read the article